Before you begin
You need a running Towbar installation with an Admin account, a connected GitHub App, and an Ubuntu target you can administer. If those are not ready, follow Install Towbar, Connect GitHub, and Register a server first. Use a domain you control for a public app. The examples use documentation-only IPs and hostnames; replace them with your own values.1. Create your app repository
Create a GitHub repository and copyserver.mjs, Dockerfile, and
.dockerignore from the example directory into its root. Grant the connected
GitHub App access to your repository. The app needs no dependencies or secrets.
Run it locally with Node.js 24 or newer:
http://localhost:3000 and check http://localhost:3000/health.
Create towbar.yml and .towbar/apps/hello-towbar.app.yml, replacing the server IP and domain.
For a first deployment to production, use:
towbar.yml
.towbar/apps/hello-towbar.app.yml
2. Add and sync the Repository
Open Repositories → Add repository, select the repository, then select production and map it to your branch. Wait for the initial sync, then open its result. A successful sync imports Hello Towbar into the Repository’s Apps list. If it fails, correct the reported manifest field or missing server reference and sync again. A successful sync accepts configuration; it does not mean the app is running.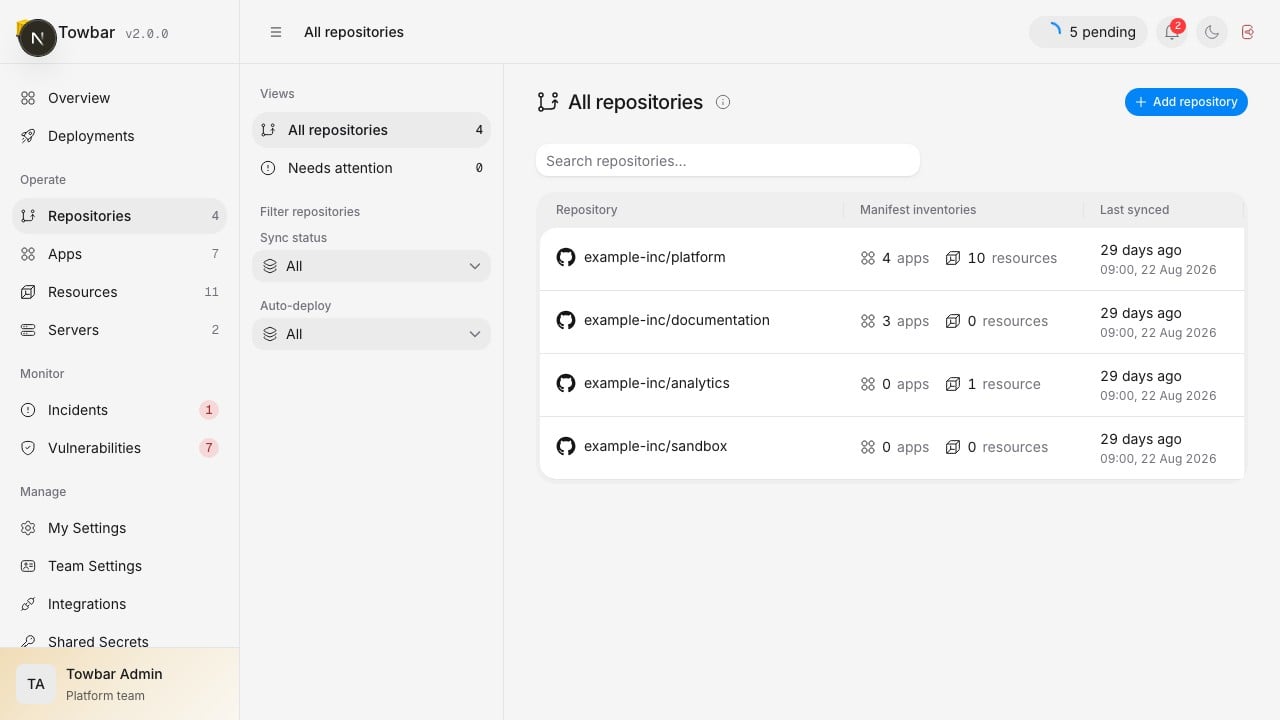
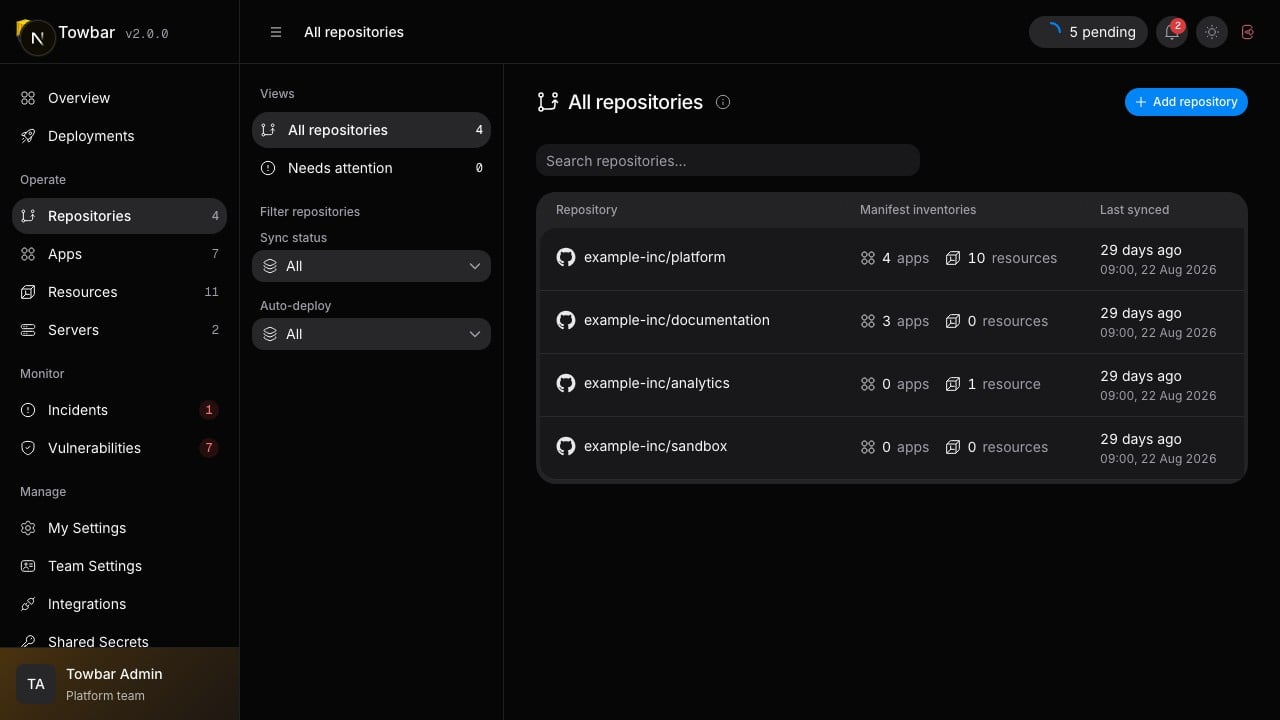
Repositories show their imported app and resource inventories and latest sync time.
3. Verify the server
Open the target under Servers → Settings → Credentials and select a stored SSH key. You can choose Add private key inside the dropdown to generate or import one. Install its public key on the server before verifying access. Choose Save, compare the discovered host fingerprint with the server console through an independent channel, and trust it only if it matches. Towbar attaches the selected key after SSH authentication succeeds. Choose Prepare Server and follow the steps until the host is Ready. If preparation fails, inspect the reported step instead of repeatedly requesting deployment.4. Save application secrets
If your app needs secrets, declare their keys in the entity file’s top-levelsecrets field and sync the production environment. Open the production app instance’s Settings → Secrets page and fill the declared build, runtime, or hook values, then save. New required keys appear as unset; missing values block deployment, but do not block sync. To reuse a shared value, set the app variable to {{globals.KEY}} or {{source.KEY}}. Shared values are not injected automatically.
The Hello Towbar example needs no secrets, so you can skip this step for your first deployment.
Saved values are hidden until an Admin reveals them with the eye icon. Leaving a replacement field untouched preserves its value. Saving does not start a deployment. See Shared secrets for references and rotation.
5. Deploy
Open the app and choose Deploy. Follow the operation as Towbar fetches the commit, builds on the server, starts a candidate, checks health, and promotes the release. If a stage fails, open its output and correct that failure before retrying. The troubleshooting guide maps common symptoms to the next check.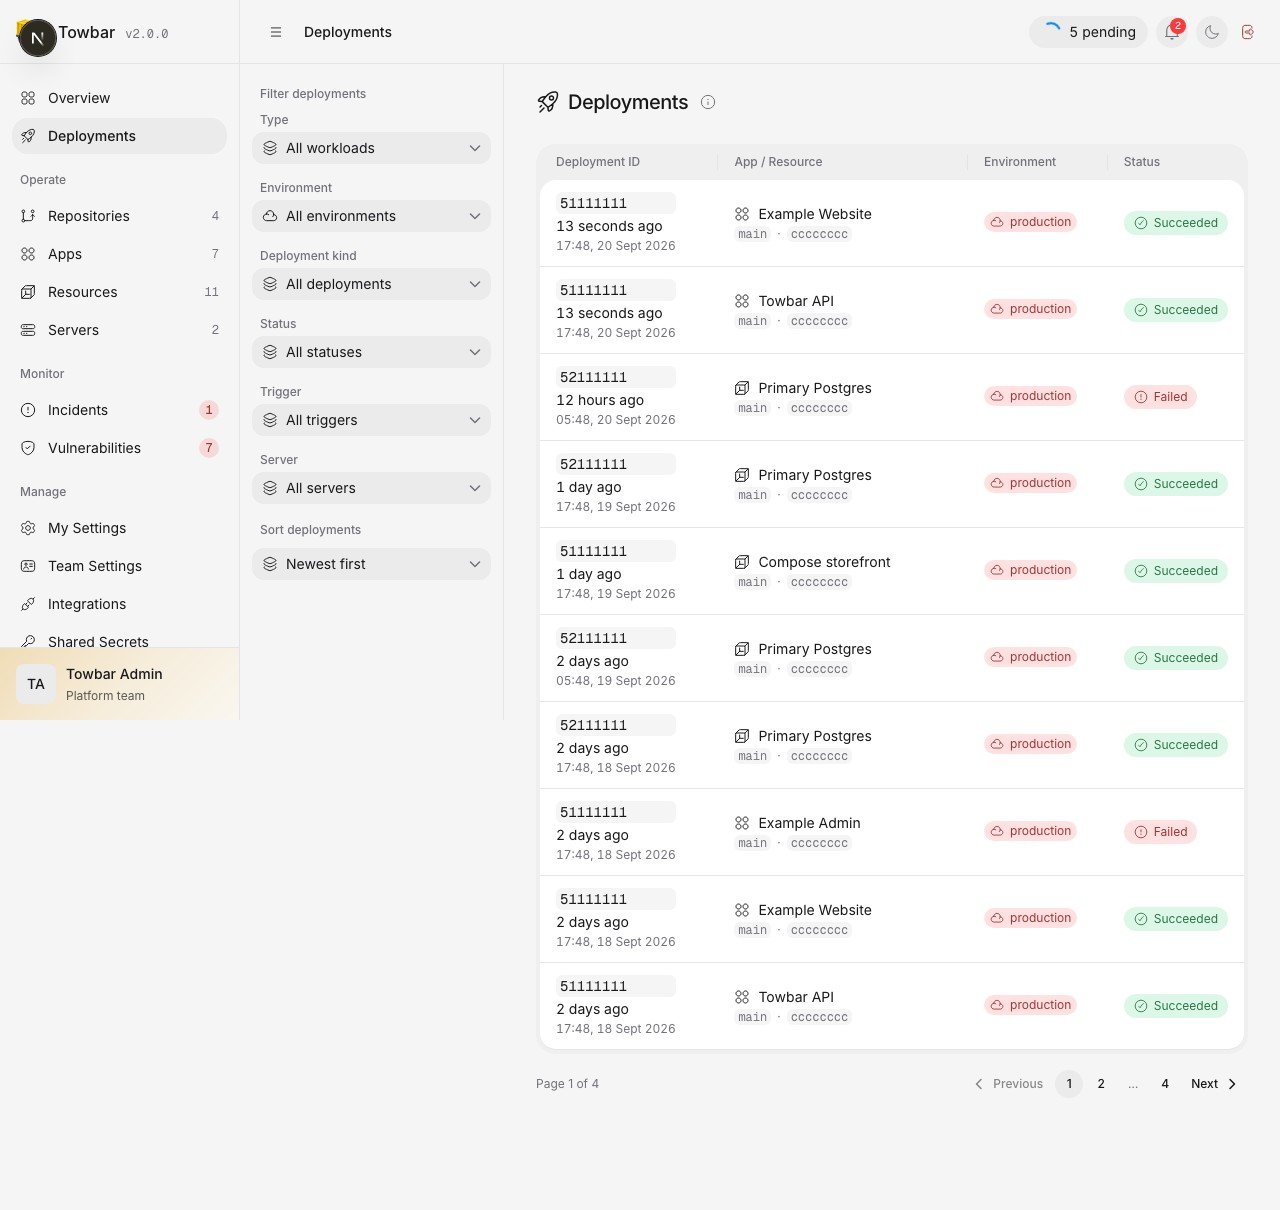
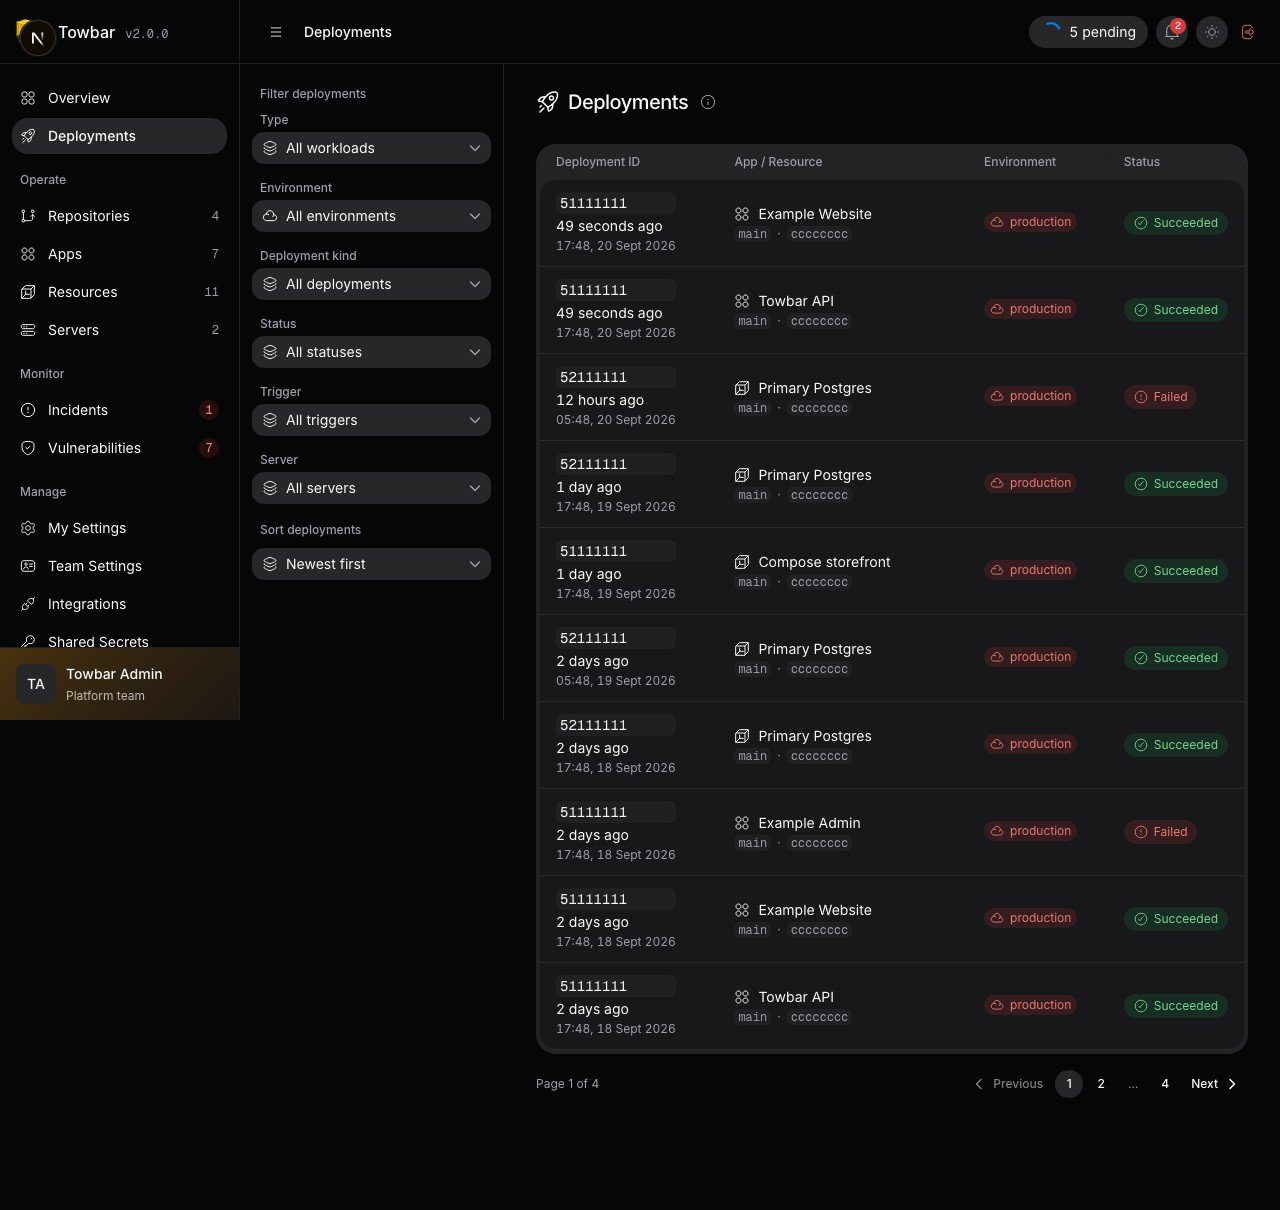
Filter deployment history by status, trigger, and workload.
6. Verify the result
Confirm all four conditions:- The Repository sync succeeded at the intended commit.
- The target server is Ready.
- The deployment reached Succeeded.
- The configured HTTPS domain serves the expected app version.
Next steps
For your second deployment, edit the response inserver.mjs, commit to the
branch mapped to production, and deploy again. Reload the public page to verify that your new code is
running.
Enable automatic deployment, add pull request previews, or connect a database resource. Configure notifications so failed operations reach the people who need to act.